|
Discover the Unique World of "In the Box" Photography DIRECTLY with Alissa Beth; the Creator of Inside the Photo Box Photography Group! Are you a photographer looking to take your photography business to the next level? Or are you a photography enthusiast seeking to explore a captivating and innovative style? Well look no further! In the Box Photography offers a mesmerizing approach that can take your photography business to new heights. Alissa Beth Rosenberg, owner of Photo Box Designs and the creator of the largest Facebook group dedicated to In the Box Photography: Inside the Photo Box Photography and Photoshop, has created a Comprehensive Guide to In the Box Photography to help you get an In the Box Photography business up and running!  What is Included? Alissa Beth has poured her expertise into a comprehensive 23-page PDF guide that covers essential topics to help you master the art of In the Box Photography. From camera setup and camera settings to building the perfect box with a comprehensive materials list, Alissa leaves no stone unturned. The guide also provides a handy posing checklist, invaluable tips, and tricks, ensuring you're fully equipped to embark on your creative journey. Immersive Video Tutorials Ever wondered how to set up a captivating In the Box studio with impeccable camera settings and lighting? Alissa Beth's video demonstration provides a step-by-step guide to create the perfect environment for your In the Box Photography sessions. Immerse yourself in the process as Alissa shares her insights and techniques, ensuring you capture stunning images that will leave your audience in awe. Unlock the Art of Editing Photography comes to life in the editing room, and Alissa Beth is here to guide you through the process. With eight customized editing tutorials, you'll discover the secrets to taking your images from Lightroom to Photoshop seamlessly. Learn how to masterfully edit limbs crossing boxes, create the illusion of a coffee pour, and harness the power of clipping masks to craft breathtaking compositions. Extraordinary Bonuses To help you jumpstart your In the Box Photography business, Alissa Beth has included a host of valuable extras in this bundle. The package boasts two In the Box Marketing Templates, thoughtfully designed for use in both Canva and Photoshop. Seamlessly create stunning marketing materials to showcase your talent and attract potential clients effortlessly. 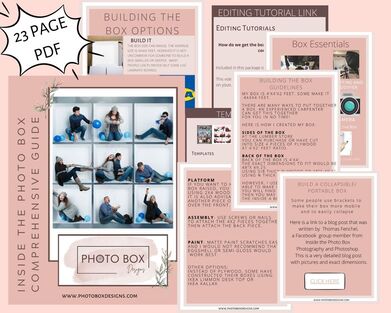 The Ultimate Photoshop Templates Say goodbye to the hassle of building layouts from scratch! Alissa has graciously included the most popular nine-box and six-box Photoshop templates, complete with grids and clipping masks. These templates are an invaluable addition to your creative arsenal, enabling you to craft visually stunning compositions with ease. 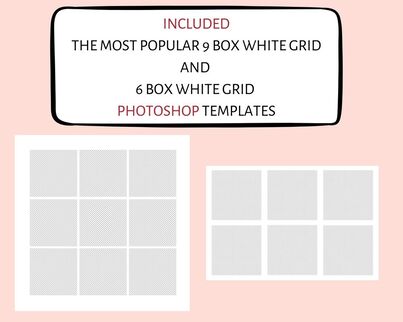 Bonus: Elevate Your Client Experience Alissa Beth knows that excellence extends beyond photography. That's why she offers an exclusive bonus - the In the Box Photography Client Guide Marketing Editable Canva Template. This meticulously crafted guide will impress your clients, making them feel welcomed and informed about your services. Enhance your professionalism and communicate effectively with this remarkable bonus. Unlock Over $250 Worth of Value If purchased separately, this bundle would cost over $250, but Alissa Beth wants to make this incredible opportunity accessible to all aspiring In the Box photographers. With this all-in-one package, you receive an unparalleled collection of resources at a fraction of the price. Easy Access and Compatibility Upon payment processing, you'll receive an instant downloadable document, ensuring quick access to all the resources. The PDF guide, video tutorials, Canva templates, and Photoshop templates are easy to use, regardless of your experience level. Start Your In the Box Photography Journey Today
Embrace the allure of In the Box Photography and take your creativity to new heights with Alissa Beth's expert guidance. Join the thriving community of In the Box Photography enthusiasts and unleash your true artistic potential. Don't miss this golden opportunity - dive into the captivating world of In the Box Photography today! Note: The images used in the listings are for display purposes only and are not included in the bundle.
0 Comments
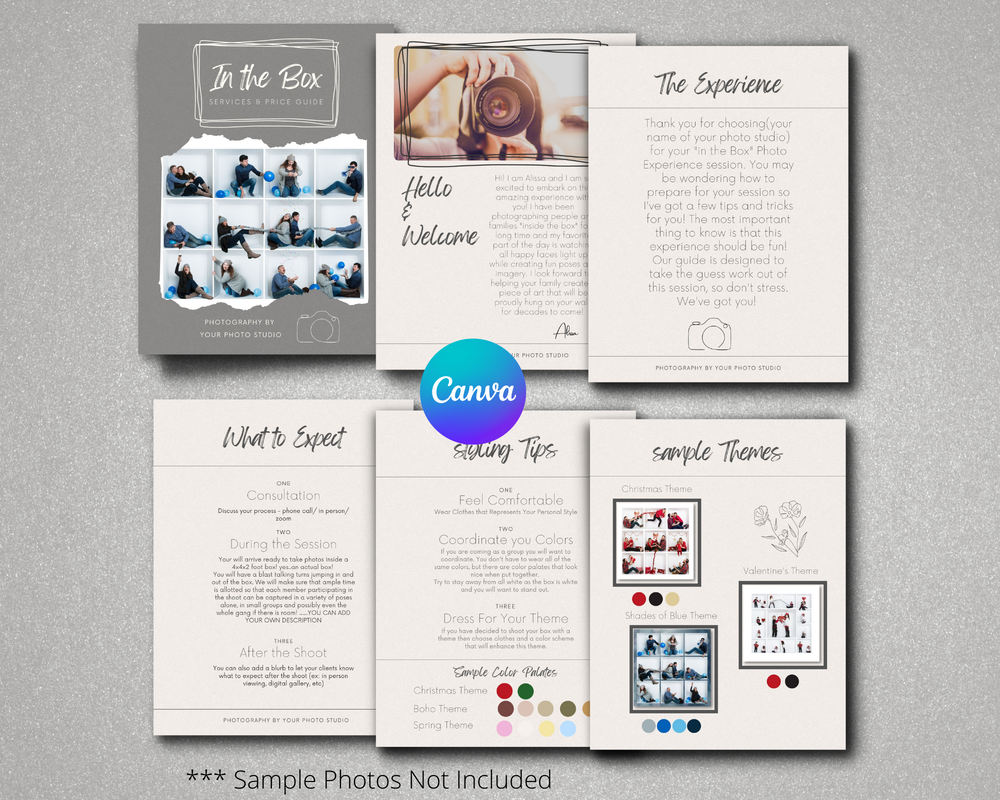
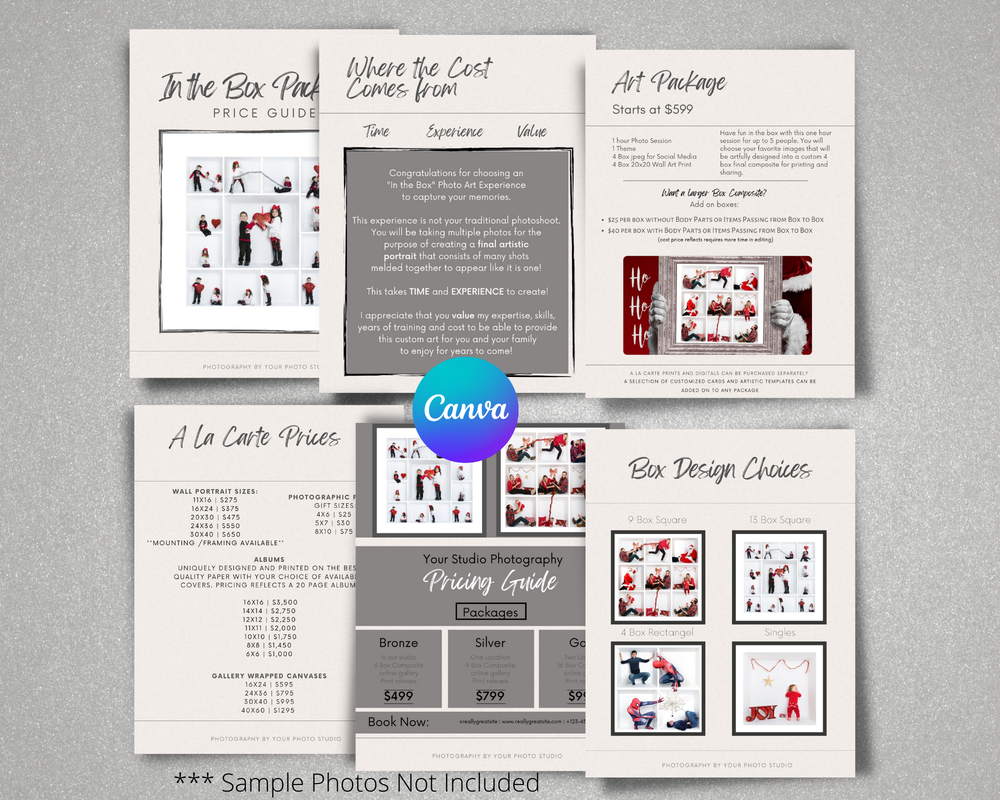
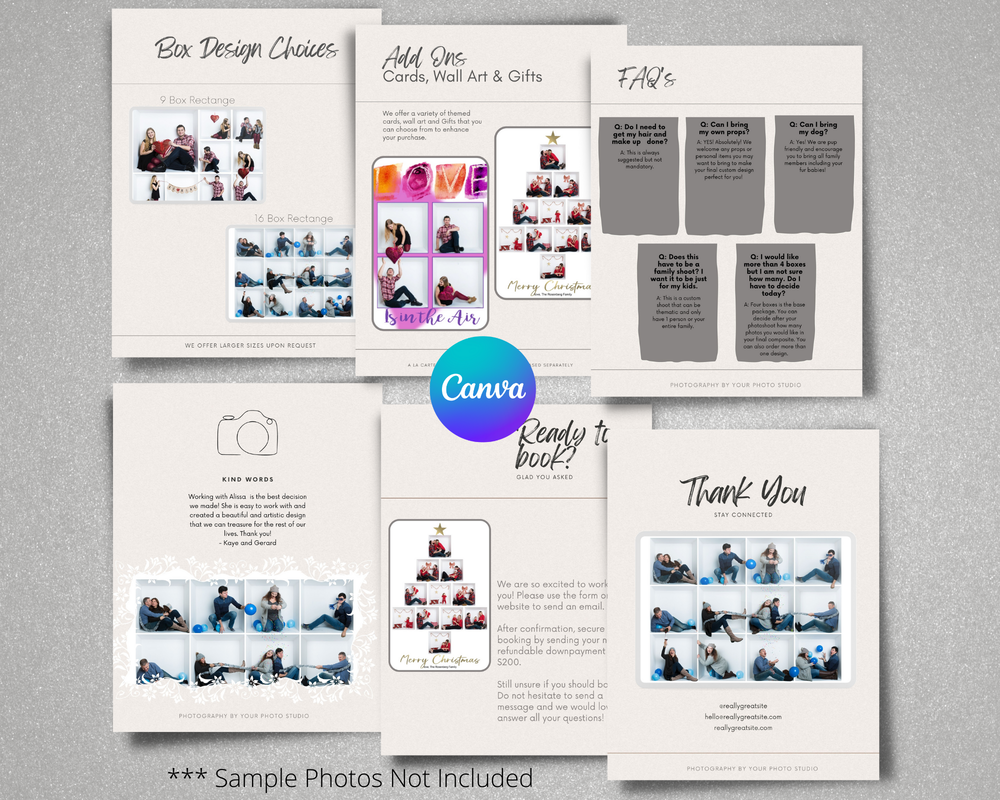
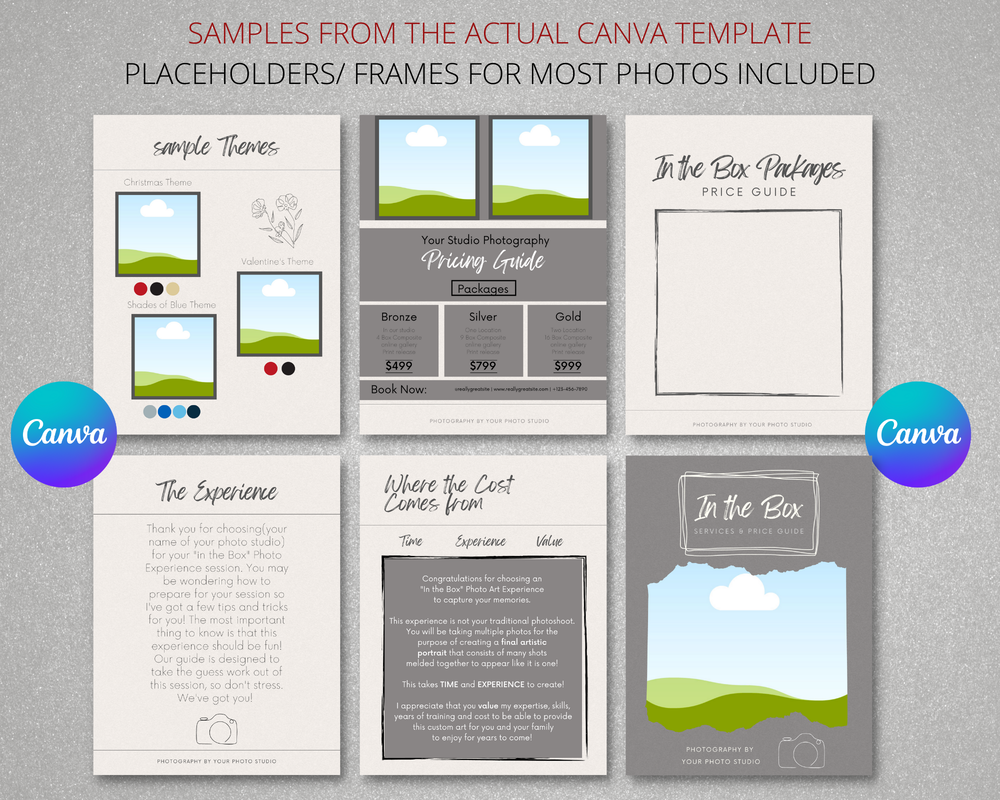
One of the biggest questions I get in the Facebook Group Inside the Photo Box Photography and Photoshop is "how much should I charge for my In the Box Photography photoshoot? Well... that really is a loaded question and not easy to answer in one or two sentences. Marketing is a beast all it's own. There are so many factors to take into consideration including Pricing can vary from one location to another and between different types of photography. But the first thing to do is to estimate the market rate and what your annual operating costs will be. You need to take into account your costs of doing business which includes rent, props, supplies, equipment, services and of course marketing. You must also take into account the time it takes to create one In the box composite. The editing alone could take a long time depending on how complex your shoot is! That is not counting the time it took you to do the actual shoot and consult with the clients! One of the most important factors is EDUCATING THE CLIENT. If you want to charge a good amount for your work as a photographer and artist then your clients must value your work and understand the process. This type of photography is not like any other. You are not selling a package of 15 digital downloads. You are creating a composite that takes TIME and EXPERIENCE. You must help your clients to understand that so they can VALUE the work that you do! To help educate the clients, I have decided to create an In the Box Photography Client Guide. This is a .pdf that I can give to my clients as a full Client Guide magazine, individual images, single sheet pdfs or group some pages together to make a pricing guide, style guide and more. 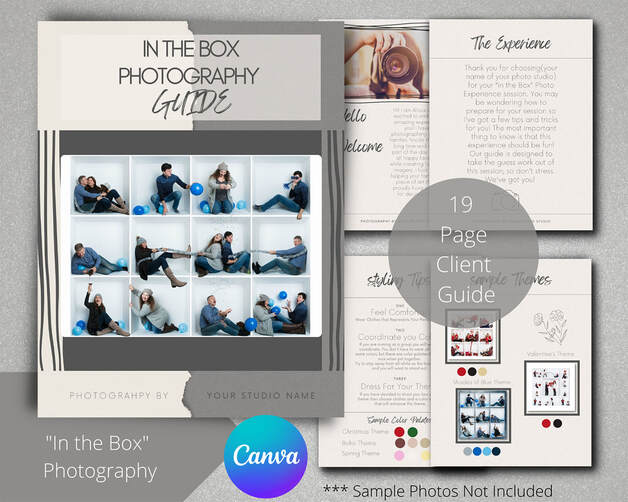 In the Box Photography Client Guide from Photo Box Designs One of the most important parts of this guide that I incorporated is a sheet on WHERE DO THE COSTS come from? Clients will NOT understand if you don't tell them.  In the Box Photography Client Guide from Photo Box Designs I also added a few pages for pricing, styling and box layouts.
There are 19 Pages in total in this Family Photography Inside the Box Client guide that can be printed or shared digitally. 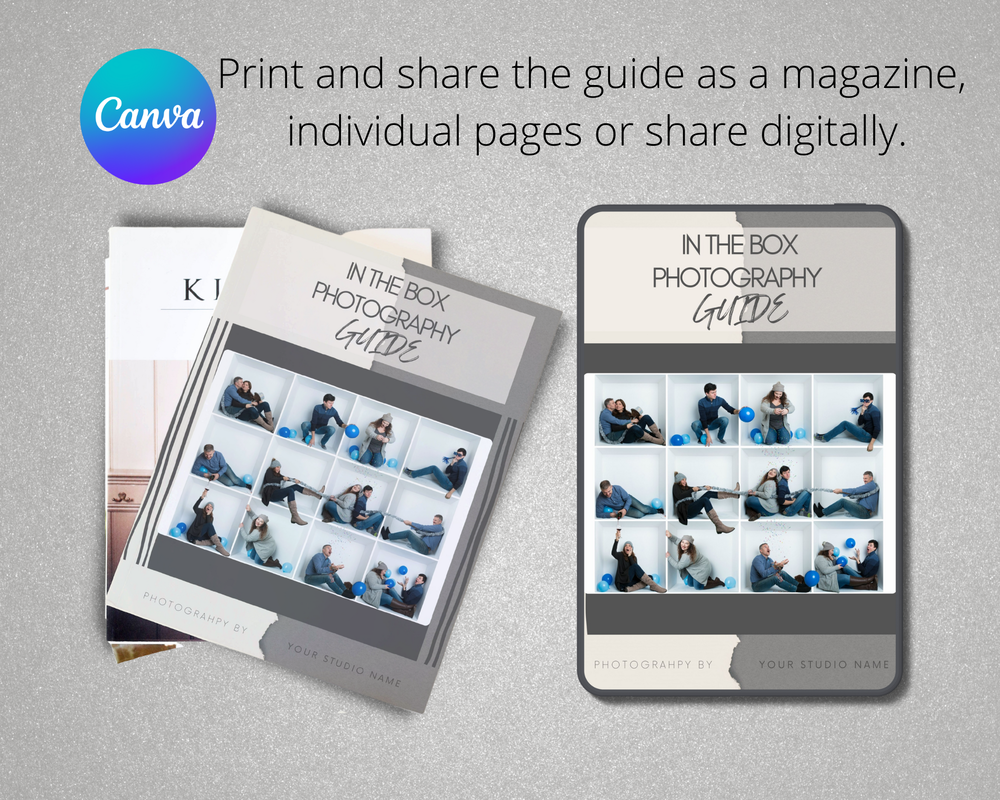 This template is now available to the public at our shop Photo Box Designs. The template is made in CANVA and all you need is a free account to edit the template. It is fully customizable and easy to use. You can add your own photos and branding to the template as well. Let me know what you think in the comments! Purchase the In the Box Photography Client guide at Photo Box Designs here: CLICK HERE WANT TO LEARN "IN THE BOX" PHOTOGRAPHY?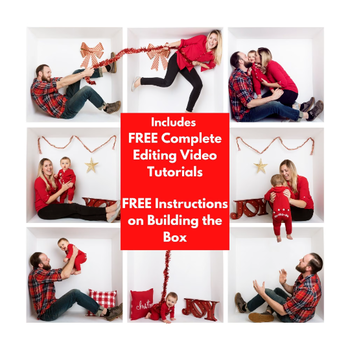 Purchase this Template and More at Photo Box Designs. Click the link Below. Check out our FREE Editing Tutorial . We also provide instructions on how to Build the Box, Edit the Box with all of our In the Box template purchases!
Whether you call this form of digital photography "box photography", "inside the box", "in the box", or "photo box photography", the biggest question I often get is "how the heck do I edit the box photos?" No matter if you are a novice photographer or seasoned professional, photoshop master or lightroom beginner, here are a few tips and tricks and video tutorials to help you out! Tip #1: When starting out photographing your first box image, keep all limbs inside the box. This will make your first attempt at editing much easier. Once you are comfortable with the photoshoot and photoshop, then you can venture out into more complex poses. Let's get started! First you will need to organize your images and decide which ones you will want to use for your inside the box composite. I prefer to use Lightroom to organize and crop my images. I like to sort my images using Lightroom's color and star rating system. I pick out my contenders for the composite. 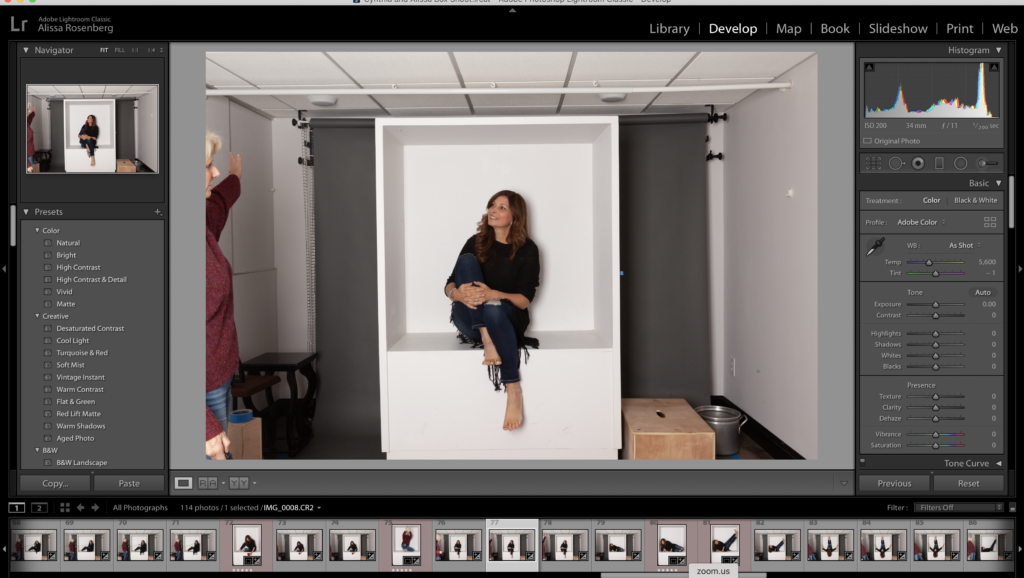 Next I will crop the images in lightroom. If I do not have anything hanging out over the box sides (feet, objects), then I can crop one photo, select all the rest and use the Sync feature to quickly crop the entire group. However, if there are body parts hanging over, then I would need to crop each image individually.
Once all of the photos are cropped I will highlight all the images by hovering my mouse over the bottom of the page, right click and choose: "edit in"- "open as layers in Photoshop". This will bring all of your selected images into photoshop. Have you ever wanted to try out "In the Box" or "Inside the Box" photography but you just don't know where you would store the darn thing? Well our Guest Blogger Thomas Fenchel came up with a great solution, a collapsible box! Thank you Thomas for creating this blog for us! *********************************************************************************************************** For long time I have been fascinated by photo collages of an "In the Box" or "Inside the Photo Box". These boxes need to be large enough to fit adults and kids, therefore, I had the struggled with where to store such a large box as the space in my studio and related area is limited. For long time I have been fascinated by photo collages of an "In the Box" or "Inside the Photo Box". These boxes need to be large enough to fit adults and kids, therefore, I had the struggled with where to store such a large box as the space in my studio and related area is limited. I am a member of the Facebook group Inside the Photo Box photography where I learned some useful inspiration to solve my problem. The box needs to be collapsible, so I can store it aside with limited required space. I made my box of melanin boards, 120x60cm and 16mm thick (pic1). The US equivalent size would be 4x4x2 ft. I used 4 boards for the frame and 2 for the back side. To make it collapsible I used quick releases (pic2). I looked what I could find in my local hardware store.  Picture 1 |

AuthorAlissa Rosenberg is the owner of Photo Box Designs where you can find beautiful photoshop templates for photographers. ArchivesCategories |

 RSS Feed