|
Whether you call this form of digital photography "box photography", "inside the box", "in the box", or "photo box photography", the biggest question I often get is "how the heck do I edit the box photos?" No matter if you are a novice photographer or seasoned professional, photoshop master or lightroom beginner, here are a few tips and tricks and video tutorials to help you out! Tip #1: When starting out photographing your first box image, keep all limbs inside the box. This will make your first attempt at editing much easier. Once you are comfortable with the photoshoot and photoshop, then you can venture out into more complex poses. Let's get started! First you will need to organize your images and decide which ones you will want to use for your inside the box composite. I prefer to use Lightroom to organize and crop my images. I like to sort my images using Lightroom's color and star rating system. I pick out my contenders for the composite. 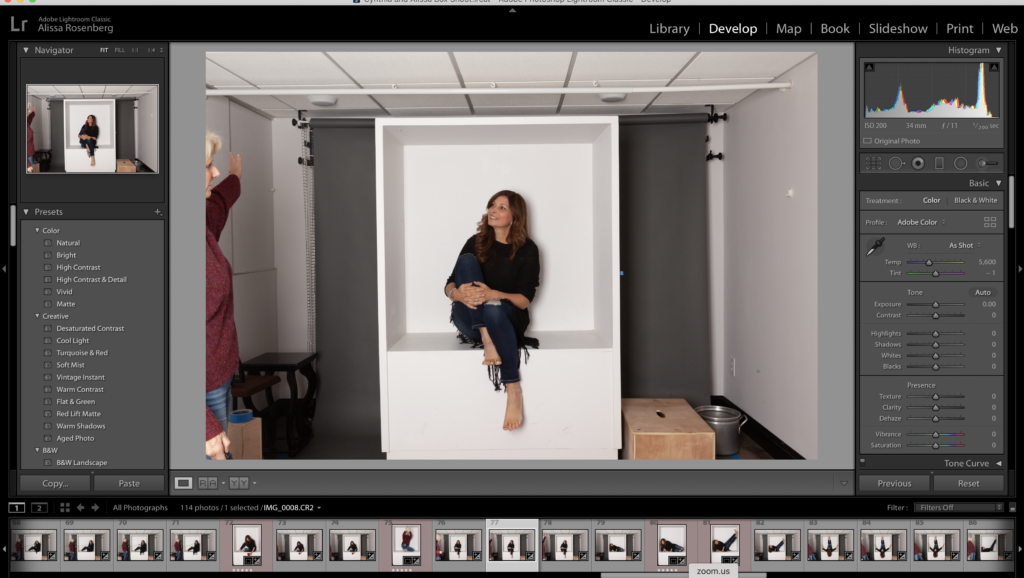 Next I will crop the images in lightroom. If I do not have anything hanging out over the box sides (feet, objects), then I can crop one photo, select all the rest and use the Sync feature to quickly crop the entire group. However, if there are body parts hanging over, then I would need to crop each image individually.
Once all of the photos are cropped I will highlight all the images by hovering my mouse over the bottom of the page, right click and choose: "edit in"- "open as layers in Photoshop". This will bring all of your selected images into photoshop.
0 Comments
|
AuthorAlissa Rosenberg is the owner of Photo Box Designs where you can find beautiful photoshop templates for photographers. ArchivesCategories |

 RSS Feed